Quickstart
OnlineWardleyMaps.com is an open source tool that aims to allow users to create visual Wardley Maps in seconds using text.
This quickstart guide will walk you through some of the basic elements of creating a Wardley Map, giving you the foundation to go on to create more advanced maps.
This quickstart does not explain in detail what a map consists of and makes an assumption you have some basic knowledge of creating maps. If you’re new to mapping, visit the following resources to get started.
- Simon Wardley’s book
- LearnWardleyMapping.com
Creating your first map.
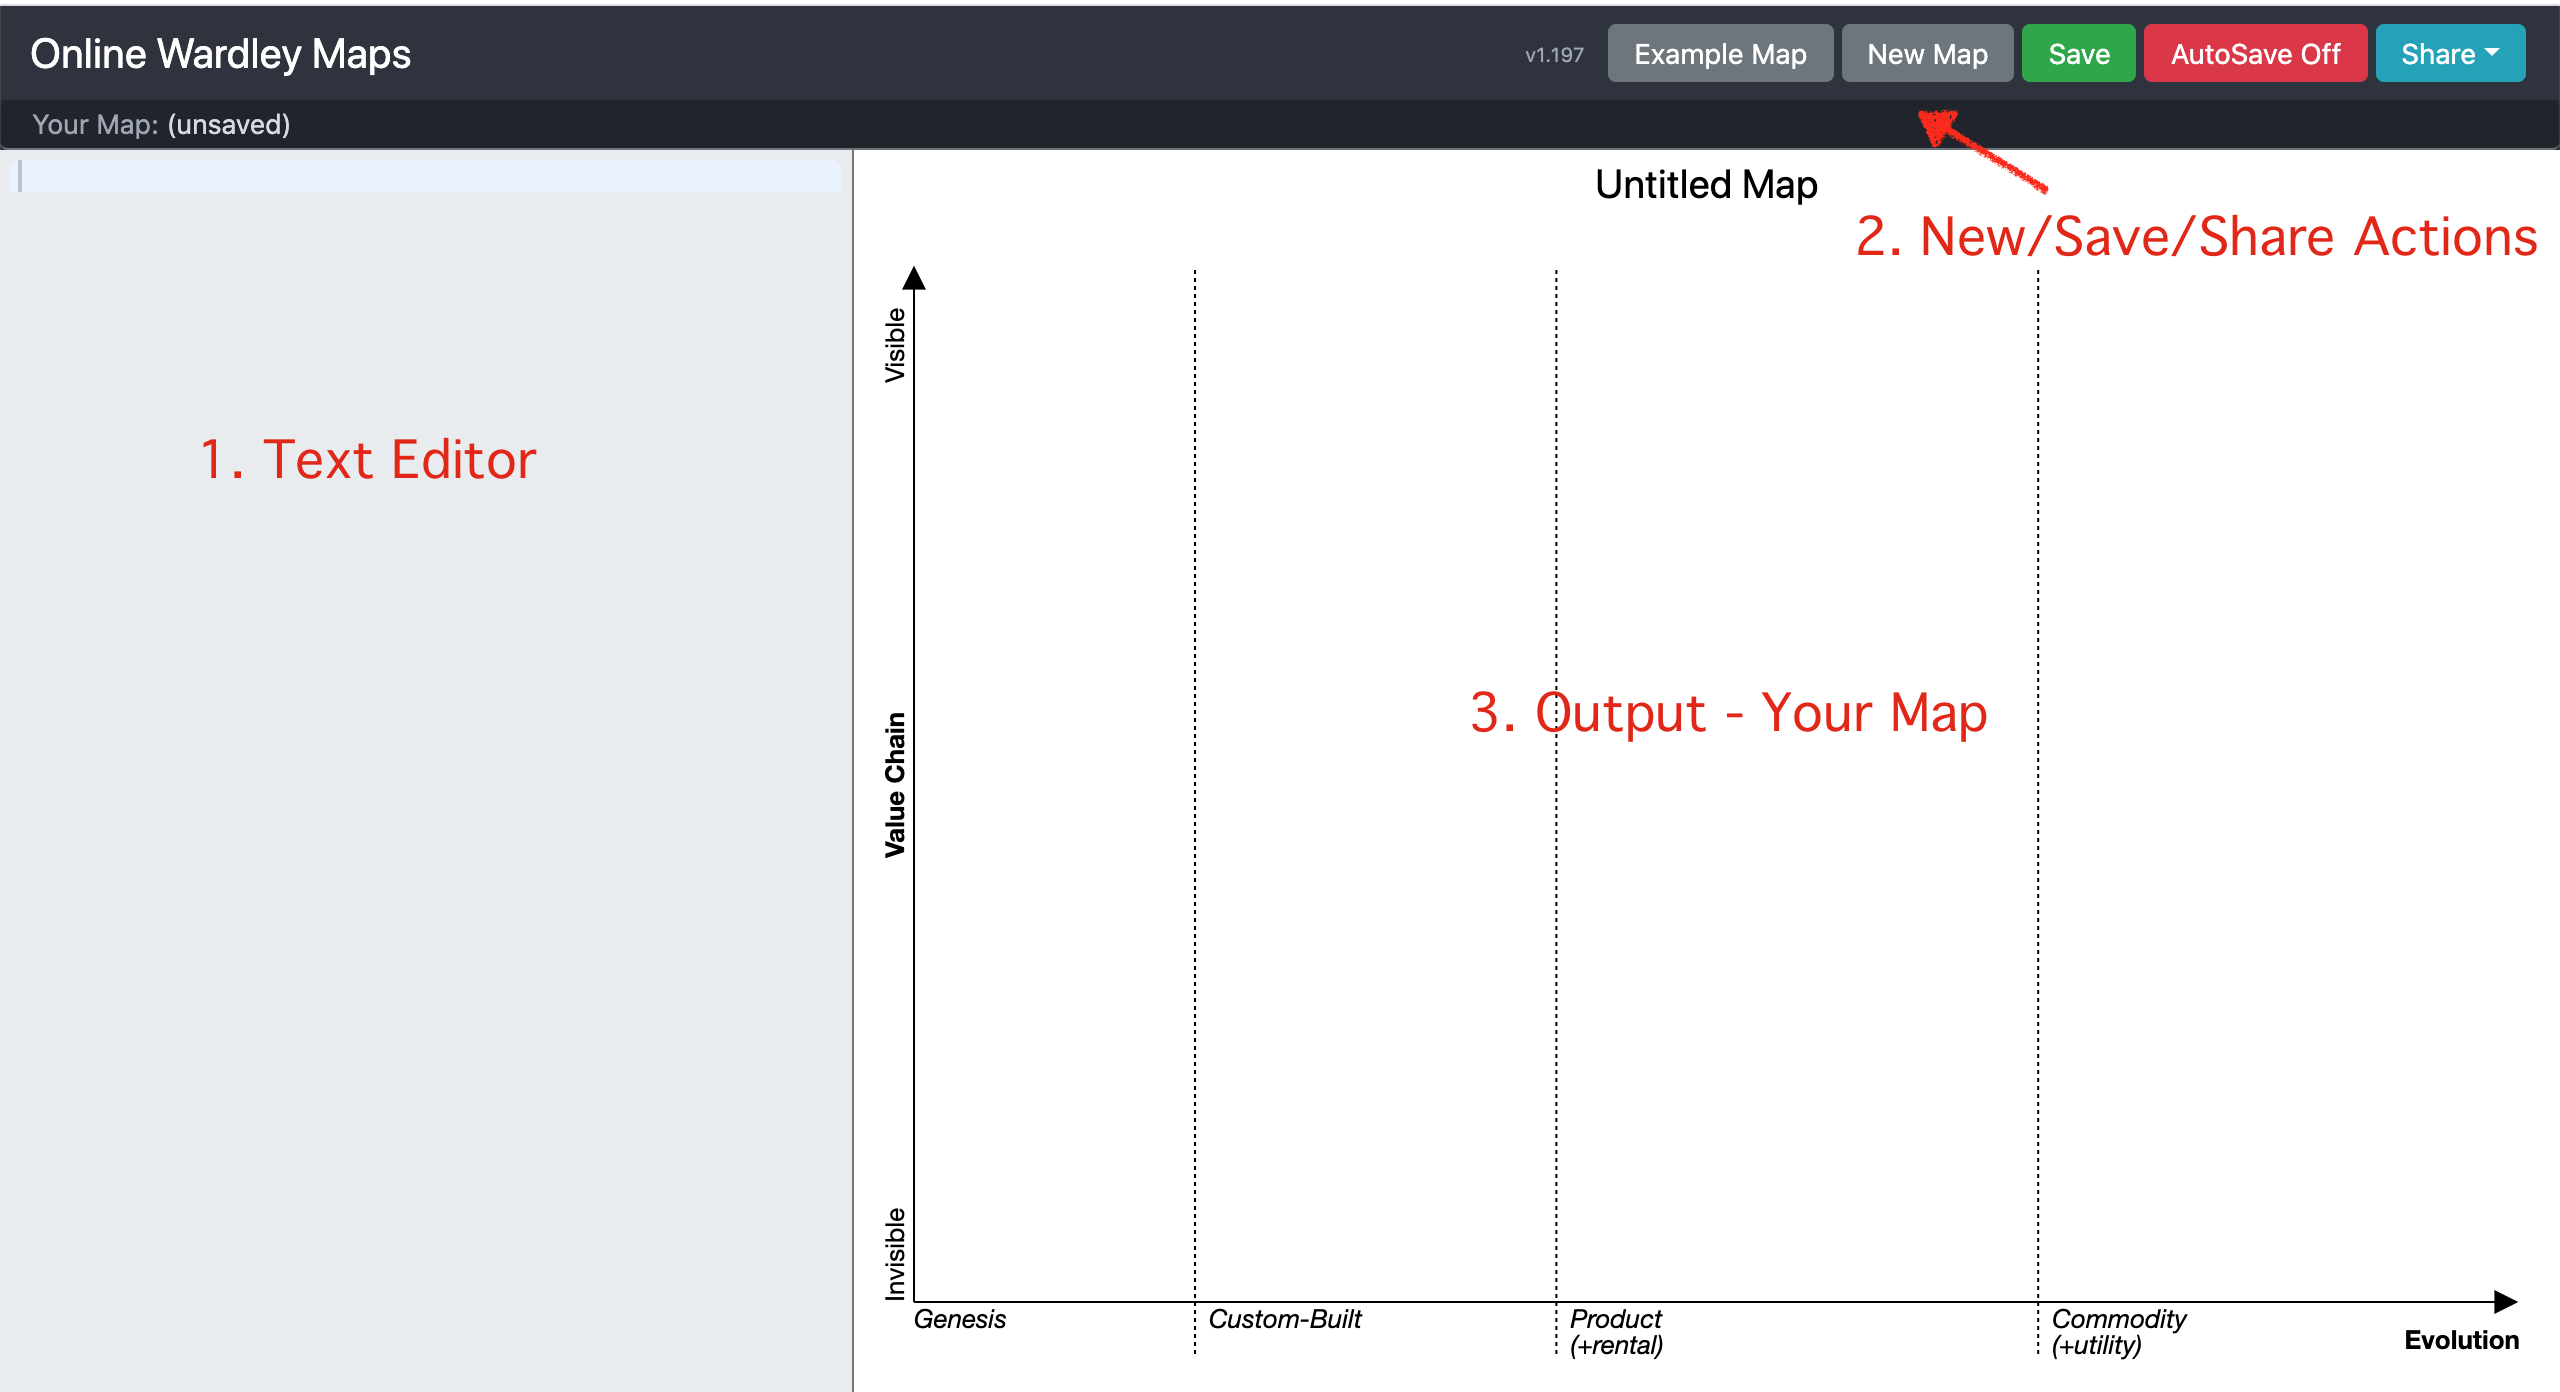
To begin, open OnlineWardleyMaps.com in a new window/tab. Below is a screenshot of what you’ll see. There are 3 key parts.
- Text Editor - this is where you’ll write your map using OWMs defined syntax (which we’ll cover next).
- The Controls - Here you can save your map, start a fresh (new) or share it - download as a PNG image or get a special read-only URL. The Example map will render a map or a Tea Shop with most of the available components of a map.
- As you begin to write, your map will begin to appear automatically.
Step 1 - Define your anchor
Syntax: anchor <name>
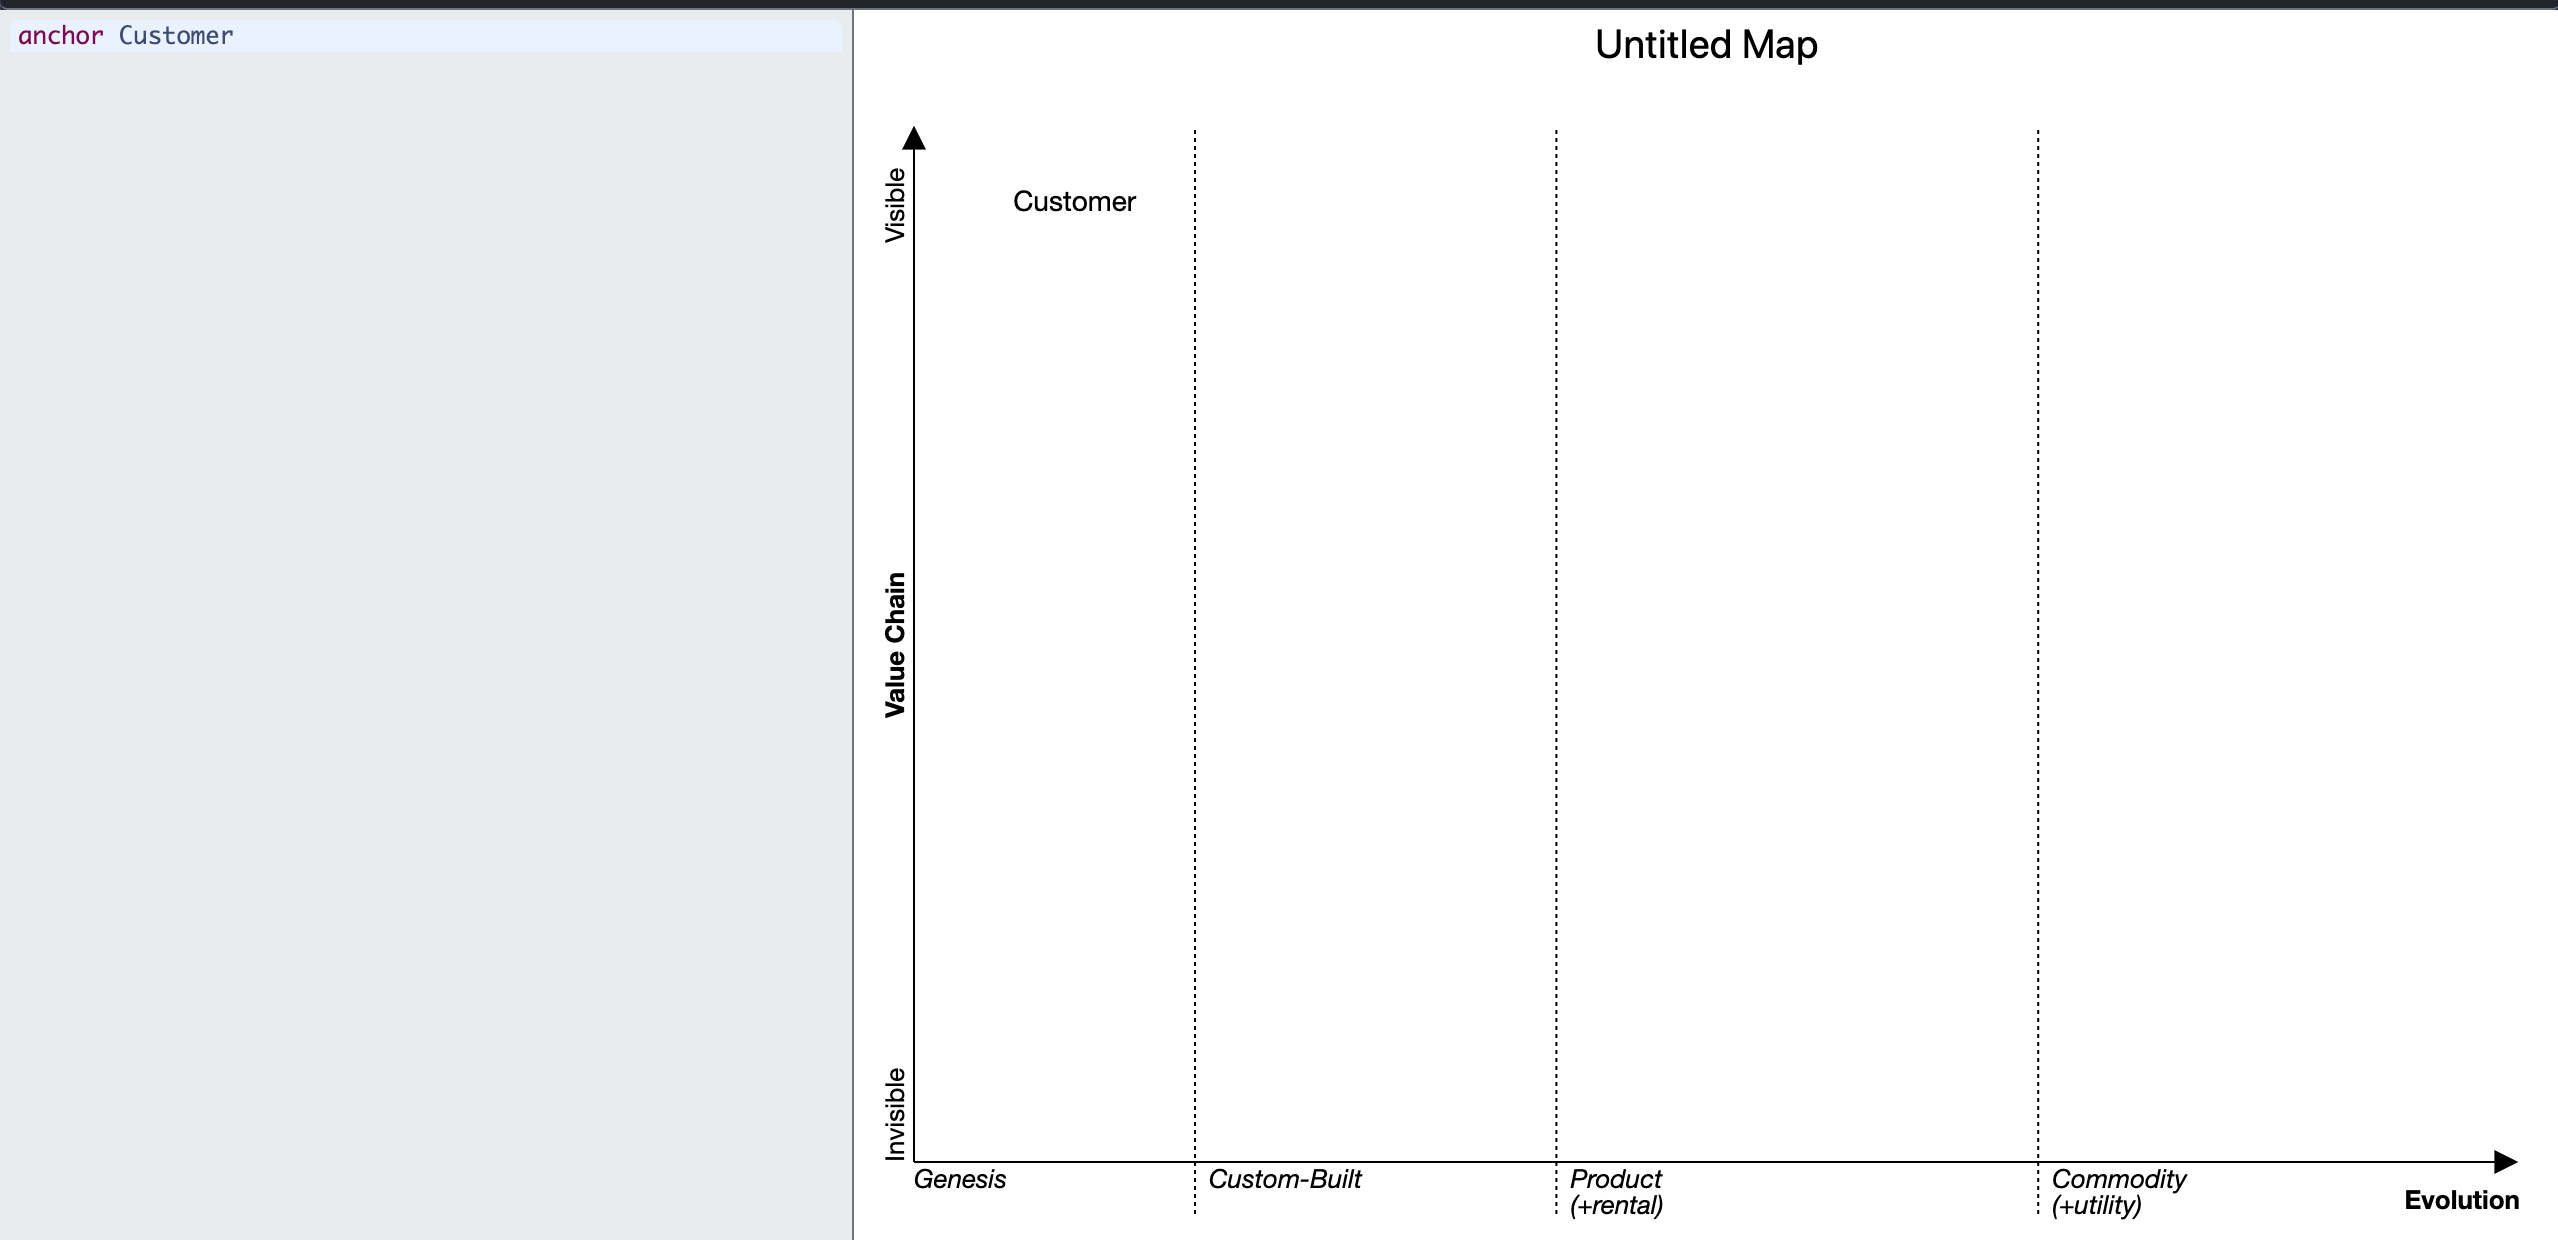
An anchor in OWM can be your customer, your end user or any stakeholder you wish to represent. In our quickstart, in the text editor on the right write out anchor Customer
Without writing anything else, your map will display the following.
You’ll likely want to reposition that anchor somewhere else on the map. OWM has a special syntax that is present on most elements. This is [<visbility>, <maturity>]. They’re a number between 0 and 1. For example, 0.9, 0.15. Visibility is the y-axis.
You can instead drag and drop the position and your map text will automatically be updated.